How to Compare Two Audio Files Fairly
Compare recordings at matched volume, choose revealing listening passages, and separate audible differences from expectations about file labels.
At a glance
A fair comparison uses the same recording, the same passage, and closely matched playback volume. Different mixes or louder settings can disguise the effects you are trying to hear. Keep the listening setup consistent and avoid judging quality from file labels alone.
In this guide
To compare two audio files fairly, use the same recording, match playback volume, and change one condition at a time. Then listen to short, repeatable passages. If the files come from different performances or masters, you may be comparing those differences rather than the encoding quality.
A useful comparison answers a specific question. You might want to know whether a smaller portable copy is acceptable, whether one file contains distortion, or whether a wireless setup changes your experience. Each question needs a slightly different test.
Decide what you are comparing
Write a simple statement before starting. For example, “Can I notice a distracting difference between these two exports of my own recording on my everyday headphones?” This limits the conclusion to the files and listening conditions you actually use.
Confirm that the recordings match. Compare duration, performance details, edits, and recognizable moments. A remaster can change tonal balance and dynamics. A live recording can contain a different arrangement. Neither difference tells you that one MP3 bitrate is inherently superior.
If the goal is to choose an encode, create both copies from the same retained source. The bitrate guide explains why comparing an arbitrary 128 kbps download with an unrelated 320 kbps download is not a controlled encoding test.
Match volume before judging detail
A slightly louder presentation can seem more impressive during a quick comparison. Adjust playback so the files sound similarly loud without making either uncomfortable. Keep the system volume and any per-track gain behavior in mind.
Normalization features can help or complicate the test. If one player applies loudness adjustment and another does not, the comparison includes that difference. Use the same player and settings where possible. Our explanation of different song volumes separates perceived loudness from peak level.
Do not assume that matching the largest waveform peak creates a perfect loudness match. Two recordings can have similar peaks but different average energy and dynamics. For ordinary personal decisions, a careful matched listening level is useful, but avoid claiming laboratory precision from a casual comparison.
Choose revealing passages
Pick a few short sections rather than repeatedly playing the whole song. A vocal phrase, a busy instrumental section, a sharp percussion attack, and a fading ending can each reveal different changes. Make sure you can return to the same point in both files.
Listen for a specific feature. Perhaps a cymbal tail becomes watery, a consonant becomes harsh, or a quiet room sound disappears. Describing the observation helps distinguish a repeatable difference from a general preference for one filename or format.
If you cannot identify a consistent difference, that is a useful result for the tested conditions. It does not prove that the files are mathematically identical or that no listener could ever tell them apart. It means your current test has not established a meaningful audible advantage.
Reduce expectation where practical
Labels such as “lossless,” “premium,” or “320” can shape expectations. If convenient, ask someone to give the files neutral names and vary the order without telling you which is which. Use copies so the original filenames and metadata remain safe.
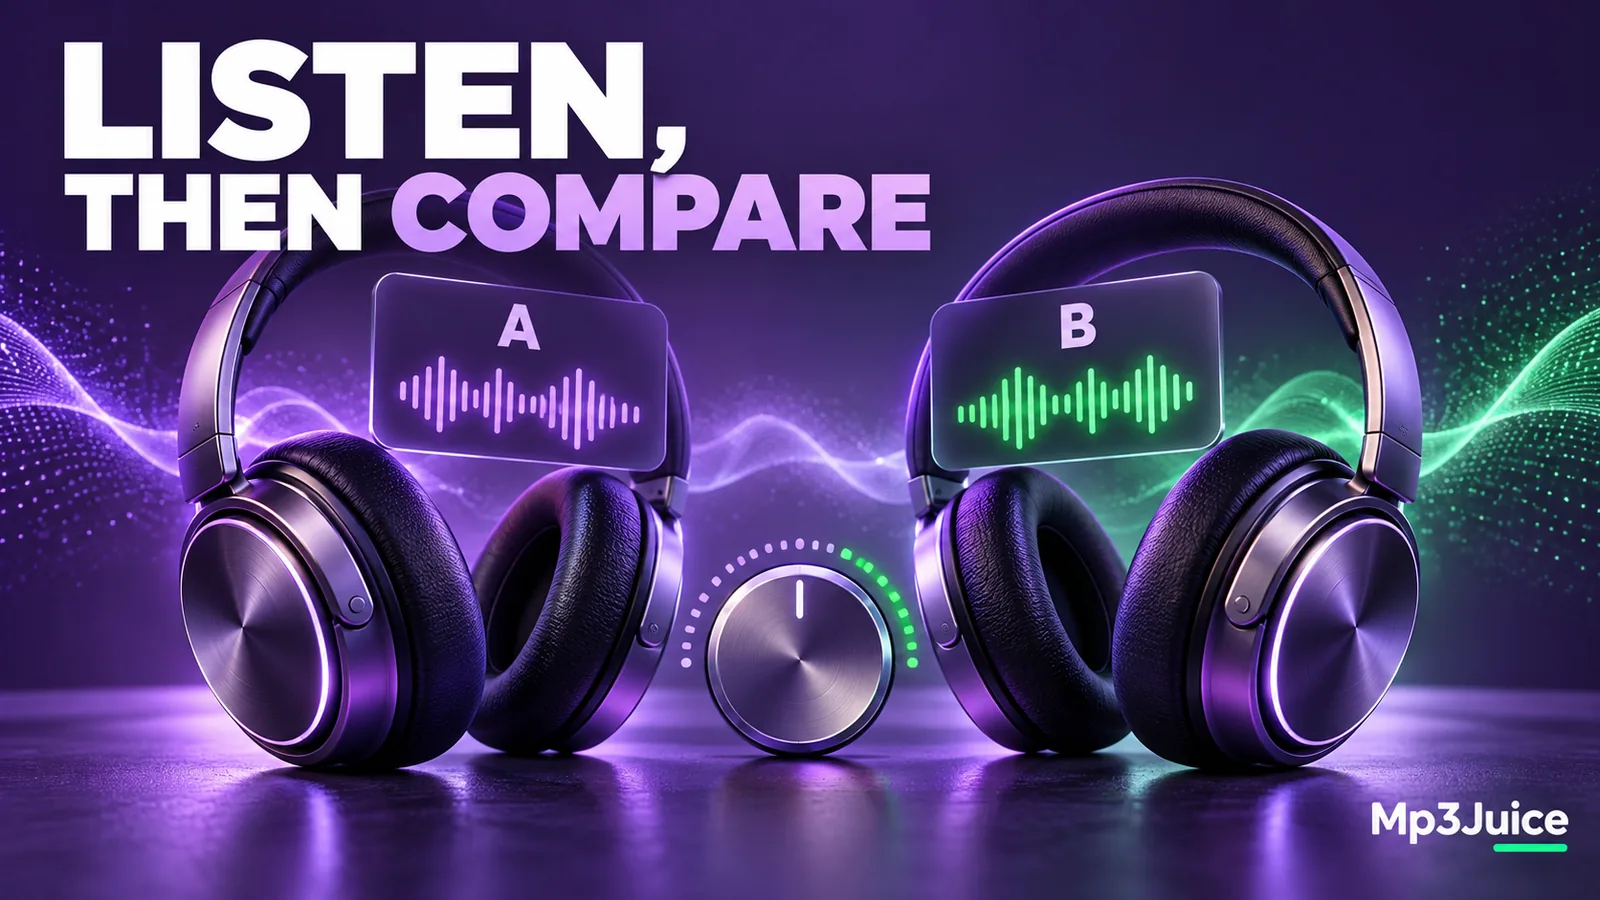
A formal ABX test compares known samples A and B with an unknown sample X. For a home workflow, the important principle is to make your observation before revealing the label. Do not turn a few guesses into a statistical claim without an appropriate test design.
Take short breaks. Repeating a difficult passage endlessly can make the comparison less useful, especially if your attention or environment changes. You are selecting a practical listening copy, not trying to force yourself to hear an expected difference.
Keep the playback path consistent
Use the same headphones or speakers, output device, player, and processing settings. Disable optional effects for the comparison if you want to isolate the files. Record any settings you leave enabled so the result is understandable later.
Wireless playback adds another part to the path. If you change from wired headphones to Bluetooth while changing the file, two variables move at once. The guide to MP3 playback over Bluetooth explains why the source file and transmission method should be considered separately.
If one file sounds distorted in every setup at the same timestamp, investigate the source. If every file sounds muffled through one output, investigate that output. The sound-problem checklist provides a structured next step for either case.
Apply the result to your library
Suppose a smaller copy of your personal rehearsal sounds acceptable on the device you carry. You can use it as a portable version while keeping the original. That choice does not require declaring the smaller file universally indistinguishable from its source.
When comparing media found through Mp3Juice, first verify the version and source details available to you. A different recording or master may explain more than the output format. Download only material you are entitled to keep and preserve any provenance information that matters.
Make a short note of the source, settings, passage, playback setup, and observation. A sentence such as “the smaller export softens the percussion attack on my headphones” is actionable. It tells you why you chose a file and what might justify another comparison if your equipment or needs change.