How to Manage MP3 Downloads on Windows
Use browser download records and File Explorer to locate, verify, name, and organize MP3 files on a Windows computer.
At a glance
Windows separates browser downloads, folders, and music-library listings. Use the download record to find the actual file, inspect its extension, and choose an appropriate player. A consistent destination folder makes future transfers and duplicate checks easier.
In this guide
Managing MP3 downloads on Windows is easier when you keep three things distinct: the browser's download history, the actual file in File Explorer, and the music application's library entry. A history item can remain after a file moves, and a library can reference audio stored somewhere else.
Begin by locating one completed download and inspecting it. Once that file works, choose a stable folder and a naming pattern before adding a large collection.
Locate the file from the browser
Open the browser's Downloads view and find the completed item. Use Show in folder or the equivalent action when available. This is more reliable than assuming the default Downloads folder was used, because the browser may have a custom destination or ask where to save each file.
If the entry shows an interruption, fix the transfer before renaming or importing the file. A temporary file is not a finished MP3 simply because some bytes exist on disk. The guide to interrupted downloads explains when a resume or a fresh request is appropriate.
If an audio player opened in the browser instead, use the page's actual download control or a supported save action. The browser playback versus saving guide helps distinguish a media preview from a completed local transfer.
Inspect the extension and properties
In File Explorer, enable filename extensions through the available View or Show controls. Menu wording can vary by Windows version. Seeing the full name helps you distinguish an MP3 from an HTML page, an incomplete download, or another file type.
Open Properties to inspect size and available details. An audio information panel or player can also show codec, duration, and bitrate. Compare the duration with the recording you intended to save and listen near the end before treating the file as complete.
Do not change an unfamiliar extension to .mp3 as a repair. Renaming does not alter the contents. If the file will not play, use the MP3 diagnosis sequence to determine whether the problem is the actual format, transfer, or player.
Use a stable music location
Downloads is useful as an inbox, but it can become crowded with installers, documents, and temporary media. Move verified audio into a dedicated Music folder or another clearly chosen location. If that location is synchronized to a cloud service, understand how local availability and deletion work there.
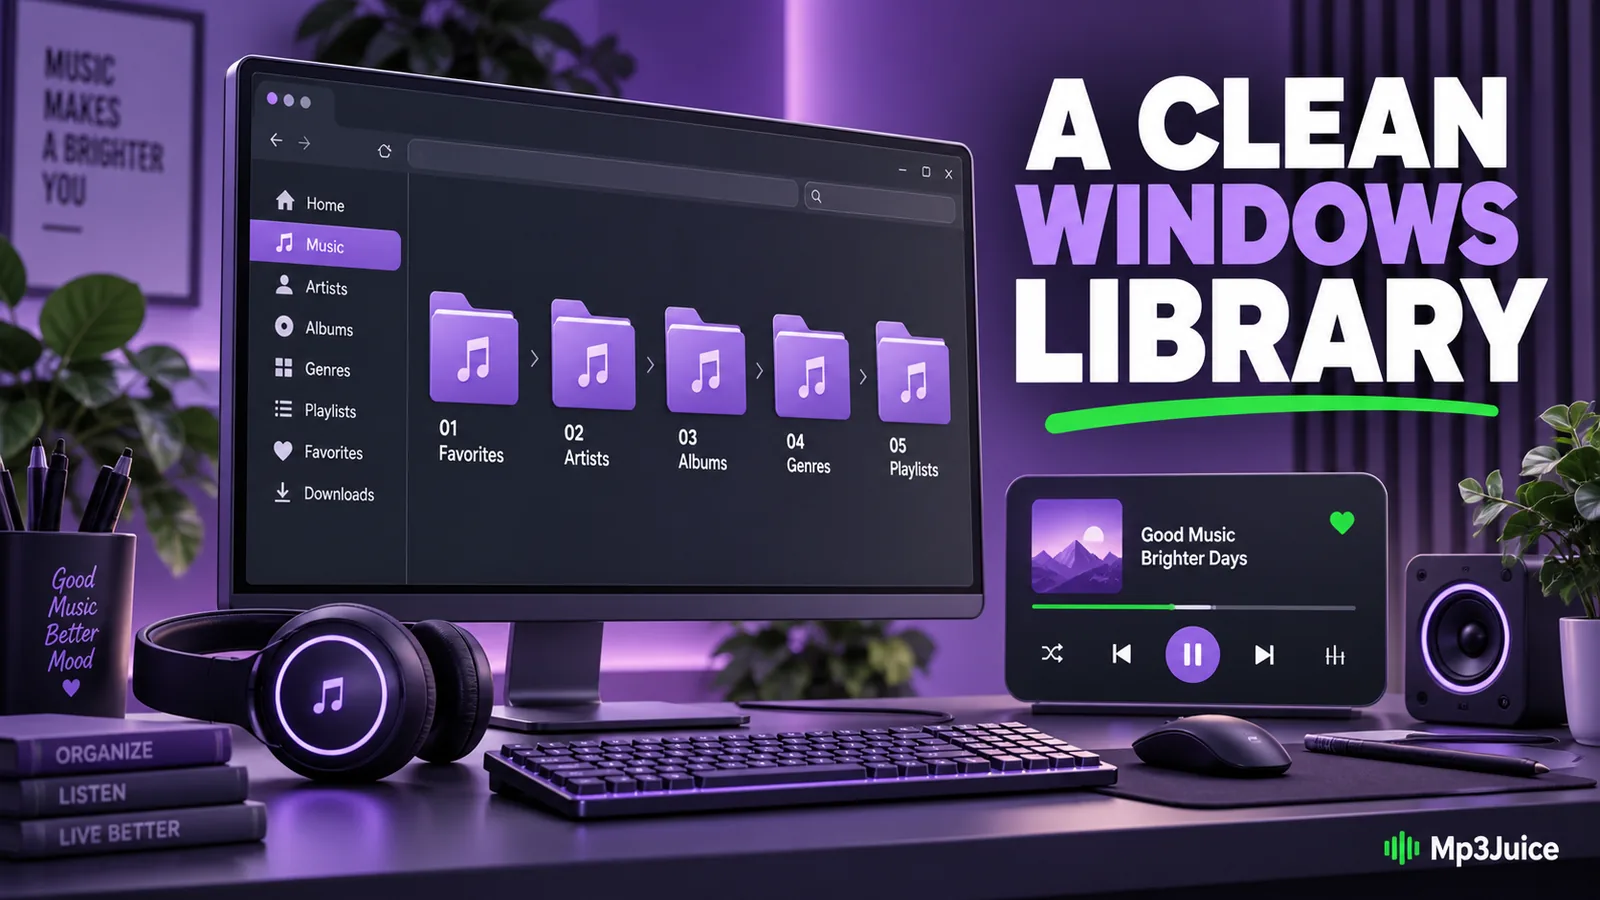
A simple arrangement might place an artist folder inside Music, an album folder inside that, and numbered tracks within the album. Personal interviews or recordings can use project and date folders instead. The folder organization guide explains how to keep paths understandable outside one application.
Avoid deeply nested paths and unnecessarily long filenames, especially when files will move to older devices. Clear names are easier to inspect and less likely to become truncated in a portable player's display.
Let tags and filenames support each other
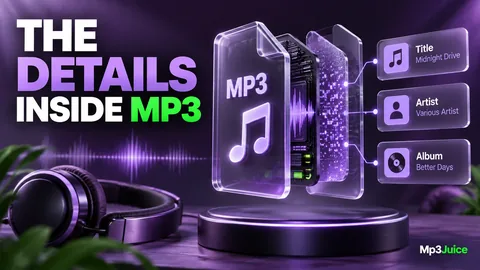
A file called 03 Evening Walk.mp3 may still appear as “Unknown artist” in a library if its tags are missing. Conversely, a file with a short technical filename can display a complete artist and title from its metadata.
Inspect the MP3 tag fields before using a batch rename. Correct a small sample first, including track number and album artist where relevant. If you rename hundreds of files from incorrect tags, you can spread the original mistake across the folder structure.
Keep alternate versions clearly labeled. A live performance and studio recording are not duplicates merely because they share a title. Use a consistent version note in the title or folder so later cleanup does not remove a recording you meant to keep.
Understand what the player imports
Some music applications reference files in place. Others can copy them into a managed media folder. Check the setting before importing a large directory. Otherwise, you may create a second collection without realizing why storage use increased.
If the player references files, moving them afterward can break library entries and playlists. Use the application's supported relocation process when appropriate, or rescan the intended folder and verify the result. Do not delete the original location until you know which copy the player uses.
Use Open with to test a different compatible player when a single application has trouble. Changing the default application can improve convenience, but it does not repair a malformed file. Keep that distinction clear when troubleshooting.
Close the loop with a backup and a playback check
After organizing a folder, play a few tracks from their final location and test any relevant playlist. Confirm that the player shows the expected tags and can seek through the file. Then include the actual audio in a recoverable library backup.
For future recordings from the MP3 search page, use Downloads as a temporary review area. Verify the selected version and format, move the accepted file into the library, and remove accidental extras only after checking them.
This workflow gives each location a purpose. The browser records the transfer, File Explorer shows where the file lives, and the player organizes listening. Keeping those roles aligned prevents missing tracks, confusing duplicates, and unnecessary repeat downloads.