How to Add Your Own MP3 Files to the iPhone Music Library
Distinguish Files playback from a Music library, then choose an appropriate computer sync or library workflow for your own MP3 recordings.
At a glance
Saving an MP3 in Files and adding a song to the iPhone Music library are separate actions. Library import depends on the tools and synchronization method you use. Keep the original file, verify the destination library, and avoid assuming a browser download was imported automatically.
In this guide
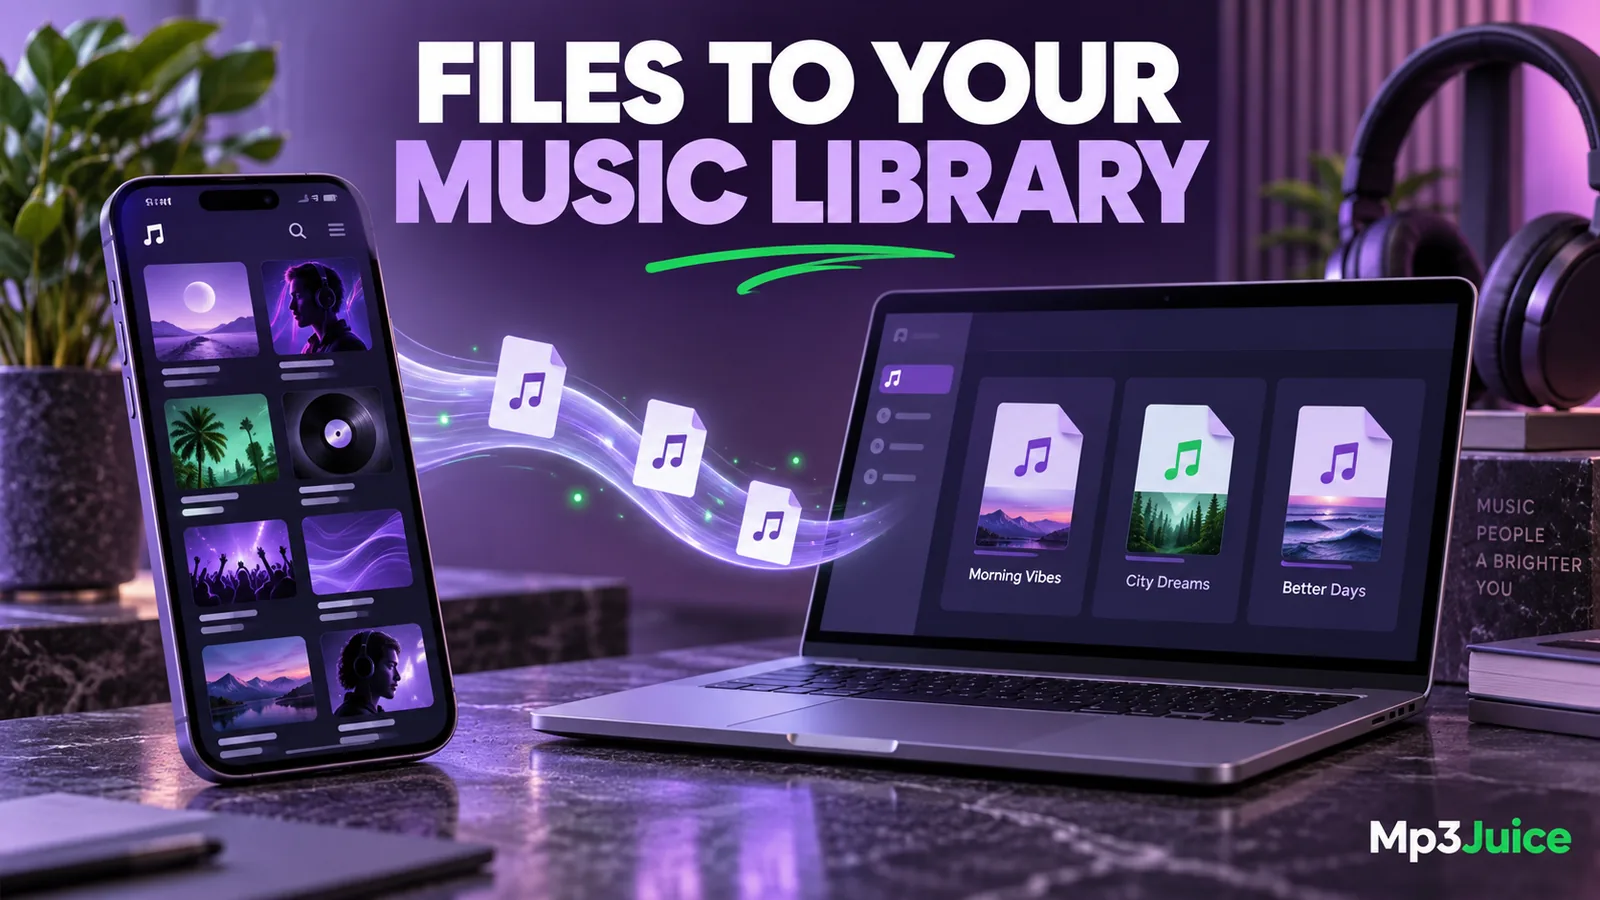
An MP3 saved in the iPhone Files app does not automatically appear in the Music library. To use Music's artist, album, and playlist organization, add your own audio through an appropriate computer library and sync workflow, or through a supported cloud-library workflow when available to your account.
If you only need to hear the file, Files or a compatible local audio player may already be enough. Decide whether you need Music library integration before changing existing synchronization settings.
First confirm the source file
Locate the actual MP3 and play it before importing. Check its duration, title, and recording version. If you cannot find it, use the iPhone download-location guide first. A webpage preview or a cloud placeholder is not the same as a verified local file.
Keep a copy on your computer or another reliable storage location. Music-library operations can move, copy, reference, or synchronize media depending on the application and settings. Knowing where your original lives makes later troubleshooting safer.
Check basic tags before importing a large collection. A file without artist or album information may appear under unexpected headings. The MP3 tag guide explains how filenames and internal metadata affect the library differently.
Add a test recording to the computer library
On a Mac, Music can import compatible audio already stored on the computer. Use its import command or supported drag-and-drop behavior, then confirm that the track appears and plays. Inspect the application's file-management settings to understand whether it copied the audio into its media folder or references the original location.
On a Windows computer using Apple's current applications, prepare the recording in the Apple Music library. Apple Devices handles supported device synchronization. Older setups can use different applications and menus, so follow the workflow appropriate to the software actually installed.
Start with one recording or a small dedicated playlist. This reduces confusion if metadata needs correction or the device has limited free space. You can expand the selection after the first track works as intended.
Sync from a Mac when that is your chosen workflow
Connect the iPhone to the Mac and respond to a legitimate trust prompt if needed. Open Finder, select the connected device, and inspect its Music synchronization section. Choose the intended music or playlist and apply the selection when the previewed changes are correct.
Existing library relationships matter. A device associated with another computer library can display an erase-and-sync warning. Do not approve replacement merely to add one file. Preserve the current media and resolve which library should manage the device before continuing.
After synchronization finishes, open Music on the iPhone and find the test recording by its tags. Play it, check its duration, and verify the selected playlist. A successful cable connection alone does not establish that the desired audio was transferred.
Sync from Windows with the appropriate Apple apps
Apple's current Windows workflow uses Apple Music for the music library and Apple Devices for device synchronization. In Apple Devices, select the connected iPhone, open Music, choose the intended selection, and apply the changes.
The available controls depend on the device and existing library settings. Apple's documentation notes that manual music synchronization interacts with Sync Library. Do not turn a cloud-library setting off casually, because it can affect media availability across the device.
Use the smallest useful selection for the first transfer. If the test file is absent afterward, check whether it was included in the selected playlist, whether the library can find its source, and whether the sync operation completed with an error.
Understand the cloud-library option
Eligible Apple Music or iTunes Match users can use supported Sync Library features to make a personal library available across devices. This requires the correct account, compatible files, and a completed library synchronization process. It is not the same as placing an MP3 in iCloud Drive.
A cloud library entry may still need a separate download for offline playback. Test availability with the network disconnected using the offline music checklist. Seeing the title and cover in Music is not sufficient evidence that its audio is stored locally.
Keep your own backup of imported originals. A synchronization service is not a substitute for a recoverable copy of the recordings, particularly if edits or deletions can propagate. The library backup guide covers what to preserve.
Avoid converting a file just to make it appear
MP3 is a commonly supported audio format, so a missing library entry is often a workflow or metadata issue. Converting it repeatedly may introduce more loss without fixing the import. If another file type is involved, inspect the actual codec using the MP3 and M4A comparison.
For media obtained through the Mp3Juice search page, verify the finished download and your right to keep it before adding it to the library. The website's save action and Music's import process are separate operations.
Once the test track appears in the right album or playlist and plays offline, repeat the same controlled workflow for the remaining files. Keep one clear computer library, a known source location, and a backup. That arrangement is easier to maintain than repeatedly downloading or re-encoding files to solve a synchronization problem.